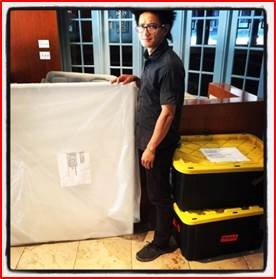
Photo 11 of 13 | Back to gallery | View full size
Copyright © 2008-2024 New Media Curation. All depictions of artworks appear courtesy of the respective artist(s). Images featuring artworks may not be reused without explicit permission. All other images are available under the Creative Commons cc-by license.